
AWS CLI: Notes

The AWS Command Line Interface is a unified tool to manage your AWS services.

Install/Upgrade AWS CLI on Windows using winget

winget install Amazon.AWSCLI
winget upgrade Amazon.AWSCLI
AWS Command Line Interface Documentation

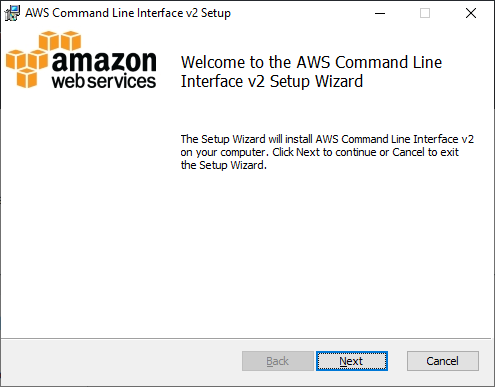
Installing the AWS CLI version 2 on Windows

Install AWS CLI on Windows - 1

Install AWS CLI on Windows - 2

Install AWS CLI on Windows - 3

Install AWS CLI on Windows - 4

Install AWS CLI on Windows - 5

aws --version
aws-cli/2.0.17 Python/3.7.7 Windows/10 botocore/2.0.0dev21
PS C:\Users\tuyen>

Configure aws cli

aws configure [--profile profile-name]
PS C:\Users\tuyen> gci .\.aws\


    Directory: C:\Users\tuyen\.aws


Mode                 LastWriteTime         Length Name
----                 -------------         ------ ----
-a----          6/1/2020   9:03 AM             51 config
-a----          6/1/2020   9:03 AM            119 credentials

Create new user group: Cloud9Administrator

PS C:\Users\tuyen> aws iam create-group --group-name Cloud9Administrators --profile iammgr
{
    "Group": {
        "Path": "/",
        "GroupName": "Cloud9Administrators",
        "GroupId": "AGPAQOKYZ3PZNUI54HC2G",
        "Arn": "arn:aws:iam::030787886066:group/Cloud9Administrators",
        "CreateDate": "2020-08-06T12:27:56+00:00"
    }
}

PS C:\Users\tuyen>

Create, update tags, describe, delete key pair using Powershell

$keyName = "KPforDevAxInstances"
aws ec2 create-key-pair --key-name $keyName --query 'KeyMaterial' --output text | out-file -encoding ascii -filepath .\$keyName.pem

aws ec2 describe-key-pairs --key-name $keyName

$keyPairId = $(aws ec2 describe-key-pairs --key-name $keyName --query 'KeyPairs[0].KeyPairId')

aws ec2 create-tags --resources $keyPairId --tags Key=LabNo,Value=055

aws ec2 describe-key-pairs --key-name $keyName

aws ec2 delete-key-pair --key-name $keyName

Popular posts from this blog

Install Microsoft .NET Core SDK

.NET Core Software Development Kit (SDK) is a set of libraries and tools that allow developers to create .NET Core applications and libraries.

How to charge your device from USB Port

First of all, check BIOS Settings of your laptop or desktop Dell Look for USB PowerShare BIOS Settings: USB PowerShare Lenovo Look for Always On USB Charge in Off Mode BIOS Settings: Enable Always On USB Charge in Off Mode

Kali Linux on Raspberry Pi 2

Download Kali Linux for Raspberry Pi 2 Use xzcat to decompress and then dd to image Kali Linux to microSD on Windows 10. or use 7-zip to extract kali-linux-2019.1-rpi3-nexmon.img image file, then use rufus to write image to microSD card Login Kali Linux with default username root and password toor Tight VNC Server root@kali:~# apt install tightvncserver root@kali:~# vncserver :1 You will require a password to access your desktops. Password: Warning: password truncated to the length of 8. Verify: Would you like to enter a view-only password (y/n)? n xauth: file /root/.Xauthority does not exist New 'X' desktop is kali:1 Creating default startup script /root/.vnc/xstartup Starting applications specified in /root/.vnc/xstartup Log file is /root/.vnc/kali:1.log root@kali:~# Kill vncserver root@kali:~# vncserver -kill :1 Killing Xtightvnc process ID 16102 root@kali:~#